When modeling in Blender, geometry errors can arise, which are unintentional and affect the way our 3D model is displayed. This can also hinder our workflow as we may spend hours trying to fix them. Therefore, we have listed below the 3 most common errors along with their solutions.
1. Double Vertices:
A common error that occurs when modeling in 3D is having double vertices or overlapping vertices. These are vertices that are very close together and affect the visualization of our geometry. Let’s see it clearly with an example:
In the image below, we have a cube with 12 vertices when it should have 8.

This error usually occurs when we have started modifying the geometry, such as an extrusion, but for some reason, we cancel the action. When we see that the geometry does not show a visible change, we think that it has not been applied. However, the extruded face is still there, just overlapped.
To fix this issue, in Edit Mode with all vertices selected, press the M key to show the Merge menu. Once there, select the By Distance option, which will merge the vertices by proximity, solving the previous situation.

After applying this, you will see a message at the bottom indicating the number of removed vertices, and your model will again show the correct number of vertices.

2. Inverted Normals:
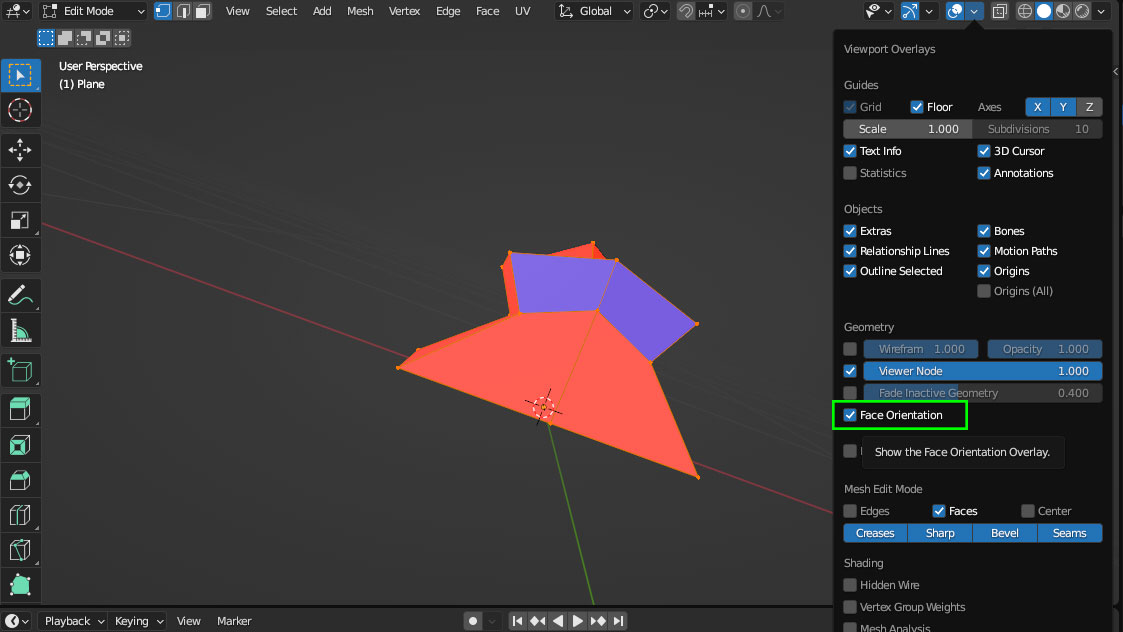
Another common error is when the orientation of the faces in Blender is inverted, causing a color variation that does not allow us to see the model properly. This error can also cause serious problems in the future that can affect sculpting or texturing.
To check if the error is due to the direction of the normals, activate the Face Orientation option from the Viewport Overlays menu. If the external faces of the model are shown in blue, the direction of the normals is correct. However, if they are shown in red tones, it is necessary to correct it.
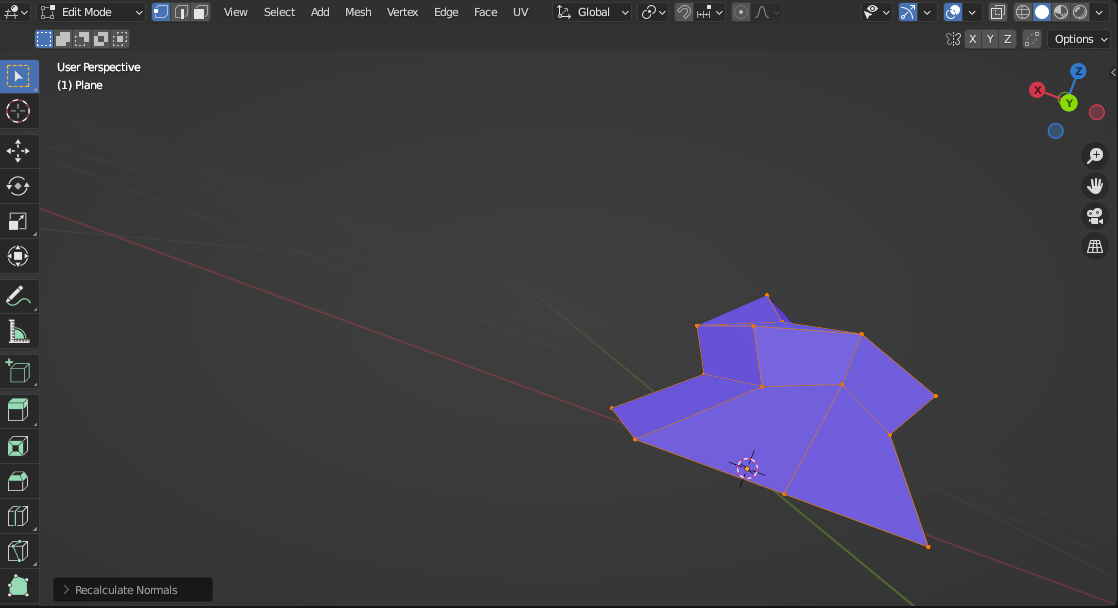
To fix this error, select all geometry with A key and press the Shift + N keyboard shortcut or access it from the Mesh -> Normals -> Recalculate Outside menu.

Once applied, and with the Face Orientation option still active, the external faces of our geometry will be shown in blue.
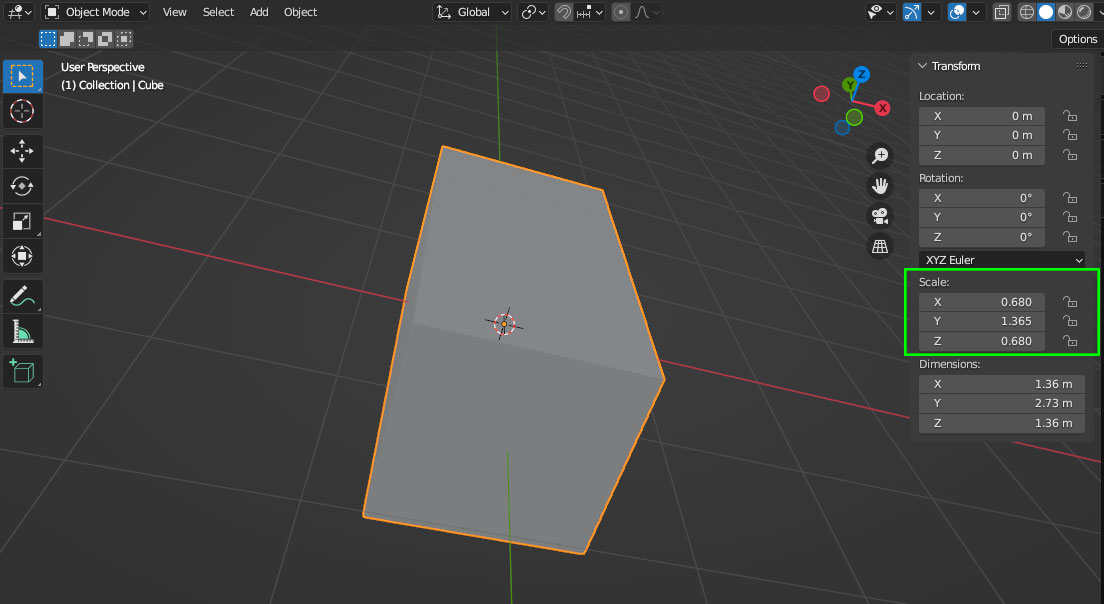
3. Object Scale:
This last error is related to the transformations that can be applied to the geometry in Object Mode, which alters the properties related to its dimensions. This is a problem since when we switch to Edit Mode and apply different modeling tools, we will get unwanted behavior. Likewise, physical simulations and UV mapping will be affected.
In the following example, a cube has been scaled in Object Mode, so its scale is not normalized:
When applying a bevel to this object in Edit Mode, the corners are not uniform.

To fix this error, go back to Object Mode and press the Ctrl + A keyboard shortcut to bring up a menu to apply different properties. For this case, select Scale. This will tell Blender that the object on the scene is at its real size, and now when applying the bevel, it will maintain the proportions.


We hope these tips are helpful and allow you to solve any geometry problems that arise in your Blender modeling process.
Thank you for reading, until next time.